How to Screen Record on iPhone 11, iPhone 11 Pro, iPhone 11 Pro Max
Who doesn’t want to record anything on their iPhone and share it with the world right? Whether you are playing a game, watching a video, or even drawing something on your iPhone, you can share it with your friends and colleagues. We are going to show you how to screen record on your iPhone 11, iPhone 11 Pro, iPhone 11 Pro Max. It works all the same way on all models. The first thing is, we have to open the Control Center by swiping up from the bottom edge of our screen and press the screen recording function.
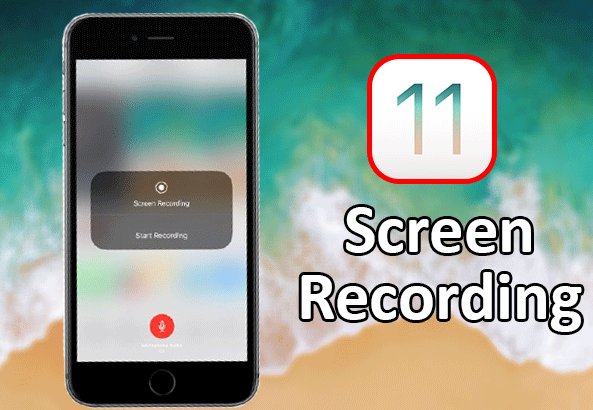
How to Enable Screen Recording in Control Center
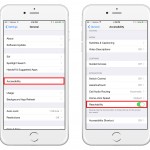
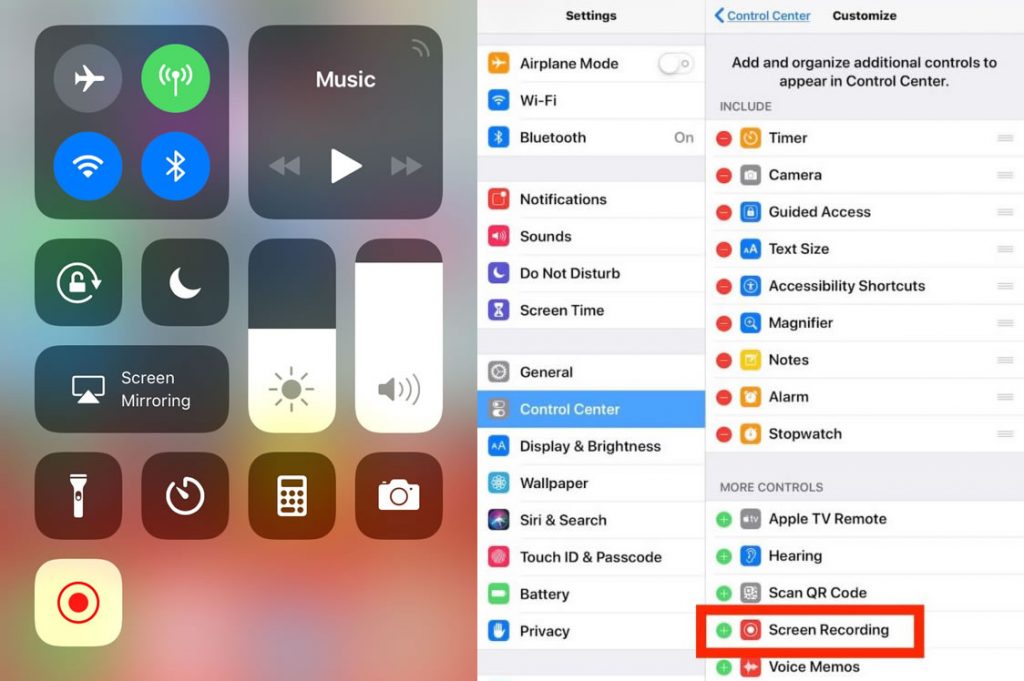
But the thing is by default it’s not enabled. So we need to go ahead and put this into our Control Center. To do that, we simply go into our settings, and then from settings we want to scroll down right below general. Then we should see the Control Center. From there, we want to scroll down where More Controls, and add the screen recording option. Once we have added the option, the Screen Recording button will be in the bottom left corner of our Control Center.
When we begin our recording, we should see an option that turns OFF or ON the audio, so we must tap on that button before start our recording. The microphone button will turn red when we are recording, which indicates the audio is also being captured.
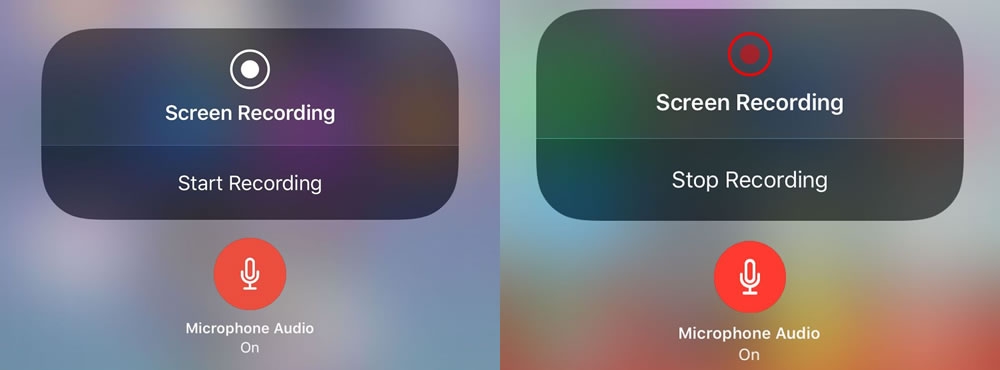
To stop the recording, we simply tap on Stop Recording and that’s it. Like taking pictures or recording videos from the camera, screen recordings are also get saved on our Camera Roll. So we can easily browse our recordings by tapping the Camera Roll app.

