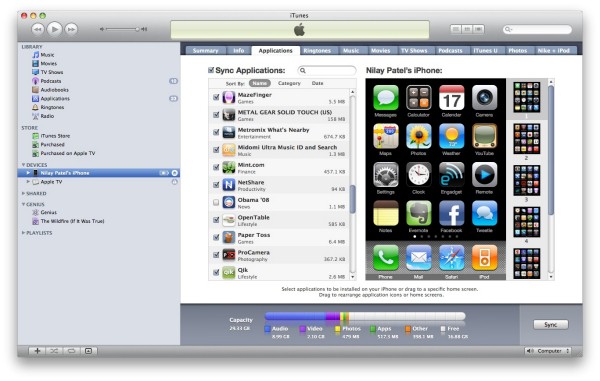
If you have just bought your very first iPhone you want to know everything it does. One of the first things you probably want to do is download music to your device. There is no point in carrying along your MP3 player anymore when you can connect your iPhone to your iTunes library. Here is a step by step guide showing how to sync your iPhone and your iTunes accounts.
1. Check if you have the latest iTunes version on your computer. It it’s older or doesn’t work for some reason you should get the latest update.
2. Connect your iPhone to your computer using the connectors that come with your iPhone. You can plug it in the USB port.
3. Run iTunes and find the Device section. Now choose your iPhone device.
4. Click the “Music” menu on iTunes.
5. Enable the option to “Sync Music”.
6. If you want to transfer all the music you have, click on “Entire Music”. If you only want several songs from your list, select the songs you want to copy and select “Selected Playlists”.
7. Once you have made your selection, start syncing by clicking “Apply” and the process begins.
If you want to transfer music manually you can just select all the playlists or songs that you want and copy them on your iPhone. First find your songs from the Library section and then just drag and drop each song you want from the iTunes window to the iPhone window. Holding down CTRL key when selecting the songs will allow you to select and then drag a group of songs at once. Another method is to set up iTunes playlists with the songs you like and then just sync the newly created playlists to the iPhone.
Songs and playlists can take up quite a lot of space, so be sure to check how much storage you have before you start transferring.

