Trying to resist the urge to contact an ex-partner or just want to clear out contacts that you no longer need? Any contact currently in your iPad contact book can be deleted with just the click of a button and this guide is going to give you step-by-step instructions to help you learn how. If you want to learn how to delete contacts on iPad, follow these steps for a 1-2 minute instructional guide to help you accomplish that goal.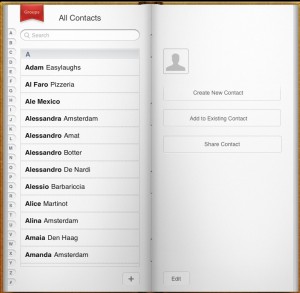
- Step 1. The first in learning how to delete contacts on iPad requires you to navigate to the contacts application on your iPad’s home screen.
- Step 2. Scroll down through the contacts to find the individual profile that you are looking to delete. You can also click on the search bar at the top of the page and type in the name of the person or contact; this method will bring you right to the contact and save you some time.
- Step 3. In the top right hand corner of the contact page, there will be an options that says, ‘edit.’ Click on this button and scroll down past all of the demographic information.
- Step 4. On the side of the contact listing will be a large red button that says ‘Delete Contact.’ One you click this button, second prompt will come up which will require you to confirm your decision.
- Step 5. Once you confirm the decision was not an accidental click and select delete contact for a second time, the contact will erase and you will no longer have the record in your contact book.
After you have completed all 5-steps listed above, you will have successfully deleted the contact and learned how to delete contacts on iPad. Repeat these steps starting from step down and below to delete additional contacts. Alternatively for more advanced users, you can access certain contacts from your home page by sliding your finger from left to right until a search bar appears known as spotlight; from here you can type in the name of the contact and go directly to the profile.


