Transferring data from your old iPhone to a new one is a crucial step when upgrading or replacing your device. You’ll want to ensure that your contacts, photos, apps, and other important information seamlessly migrate to your new iPhone. Fortunately, Apple offers multiple methods to make this transition smooth and hassle-free. In this comprehensive guide, we’ll walk you through various ways to transfer data from your old iPhone to your new one.
Backup Your Old iPhone
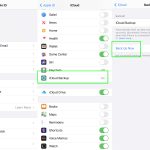
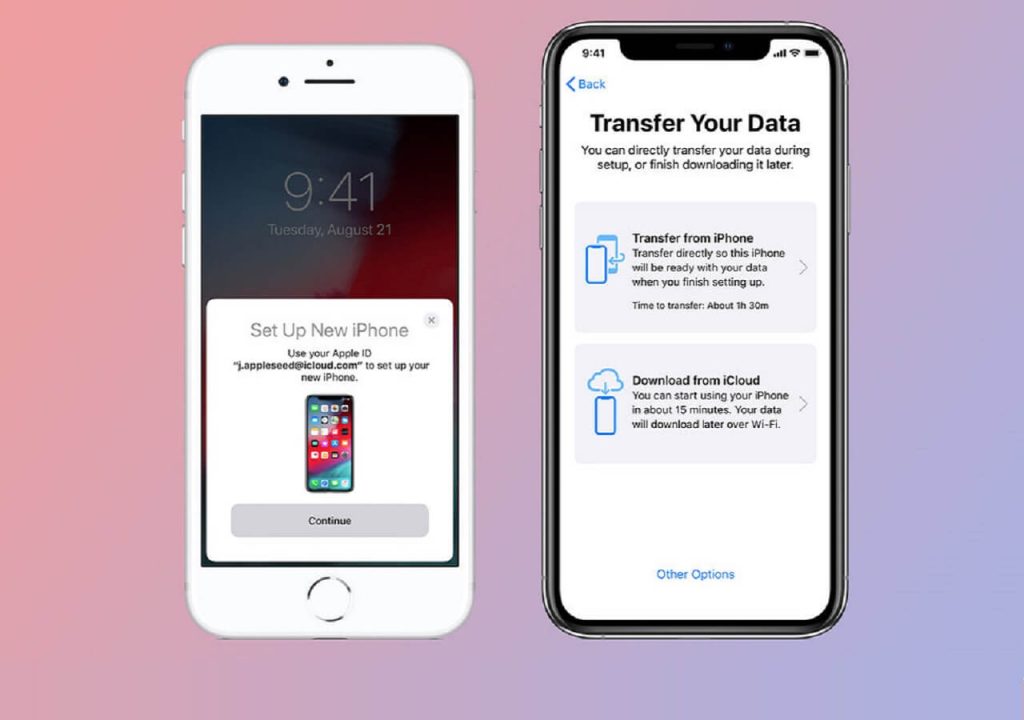
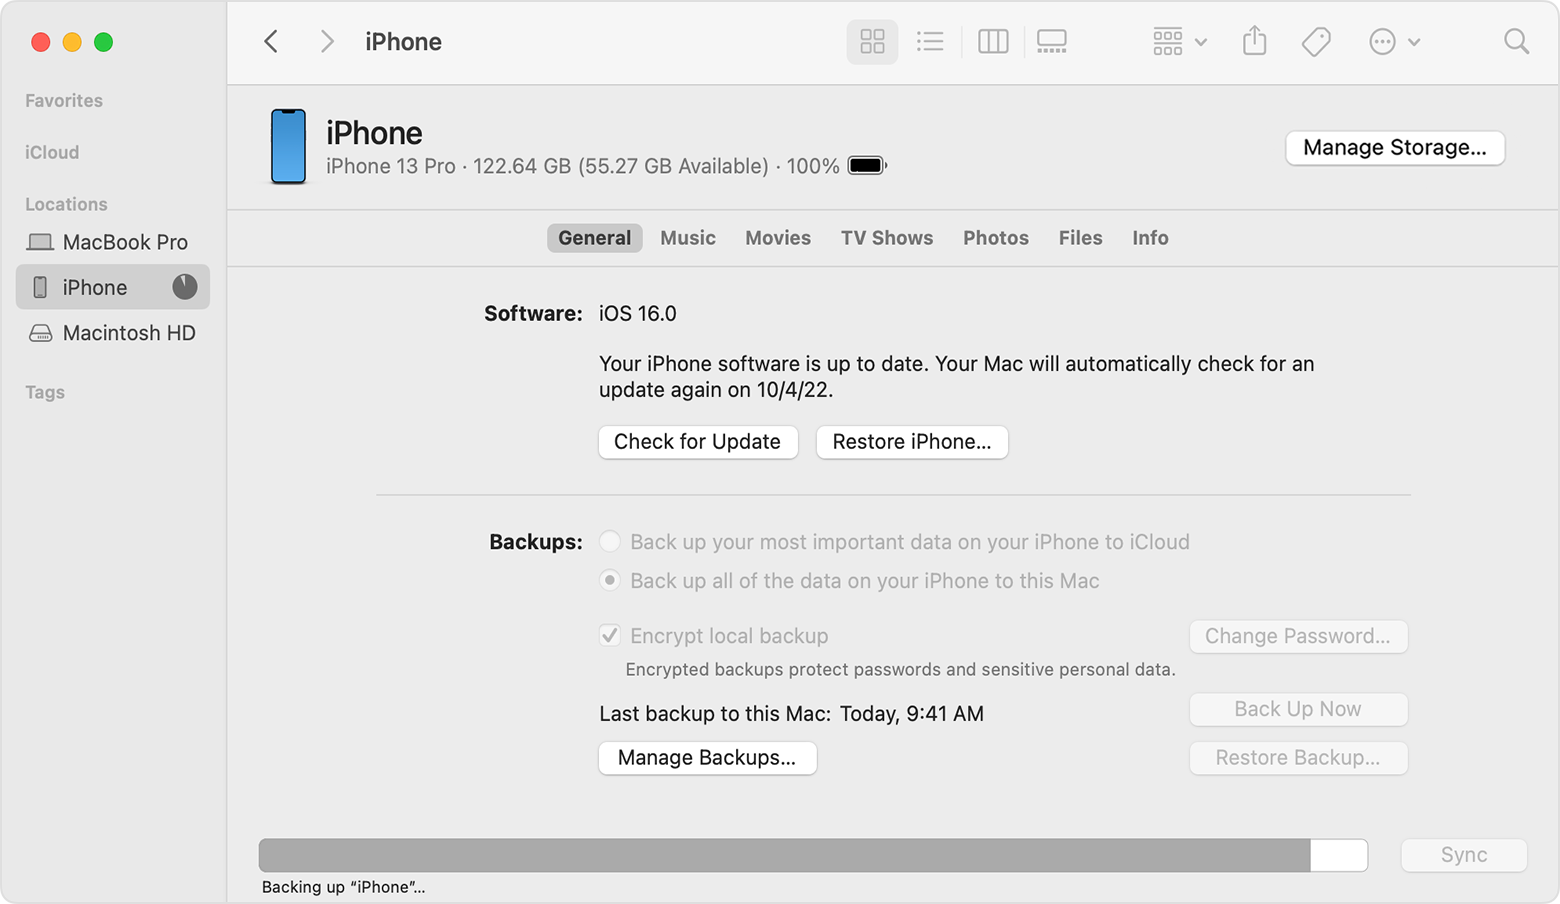
Before transferring data, it’s essential to create a backup of your old iPhone to ensure your data is safe. You can back up your iPhone using iCloud or iTunes/Finder (for macOS Catalina and later). To back up with iCloud, go to Settings > [Your Name] > iCloud > iCloud Backup and tap “Back Up Now.” To back up with iTunes/Finder, connect your iPhone to your computer, open iTunes or Finder, and initiate the backup process.
Transfer Data Using Quick Start
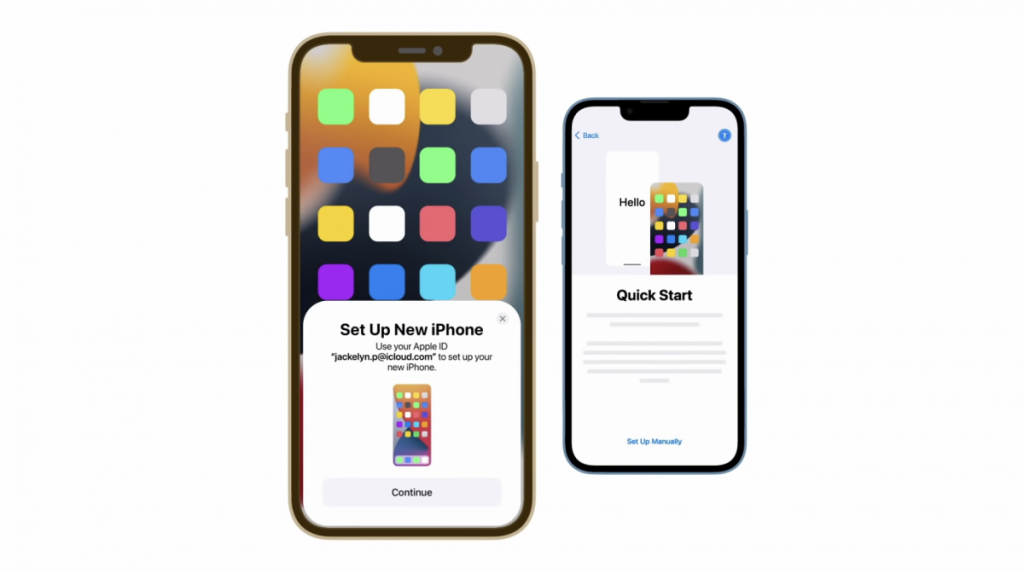
If you have both iPhones running iOS 12.4 or later, you can use the Quick Start feature for a seamless transfer:
- Place your old and new iPhones close together.
- Follow the on-screen instructions to set up your new iPhone.
- When prompted, use your old iPhone’s camera to scan the animation displayed on your new iPhone.
- Enter your old iPhone’s passcode on your new iPhone.
- Choose whether to restore from an iCloud backup or set it up as a new device.
Transfer Data Using iCloud
Transferring data using iCloud requires a stable Wi-Fi connection and sufficient iCloud storage:
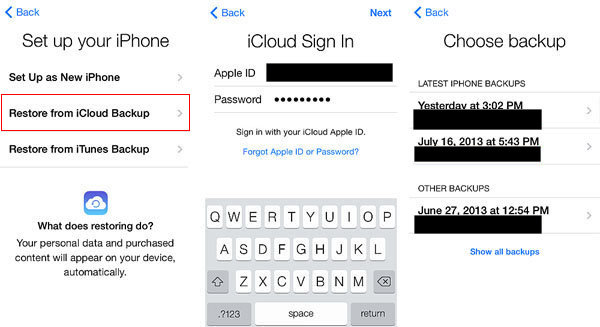
- Set up your new iPhone until you reach the “Apps & Data” screen.
- Choose “Restore from iCloud Backup.”
- Sign in with your Apple ID and choose the most relevant backup.
- Allow the backup to complete. The time it takes depends on your internet speed and the size of the backup.
Transfer Data Using iTunes/Finder Backup
Transferring data using iTunes/Finder requires a computer with the latest version of iTunes (if you’re on macOS Catalina or later, use Finder):
- Connect your new iPhone to the computer.
- Open iTunes (or Finder).
- Choose your new iPhone when it appears.
- Select “Restore Backup.”
- Choose the most relevant backup and proceed.
Transfer Data Using the “Move to iOS” App (Android to iPhone)
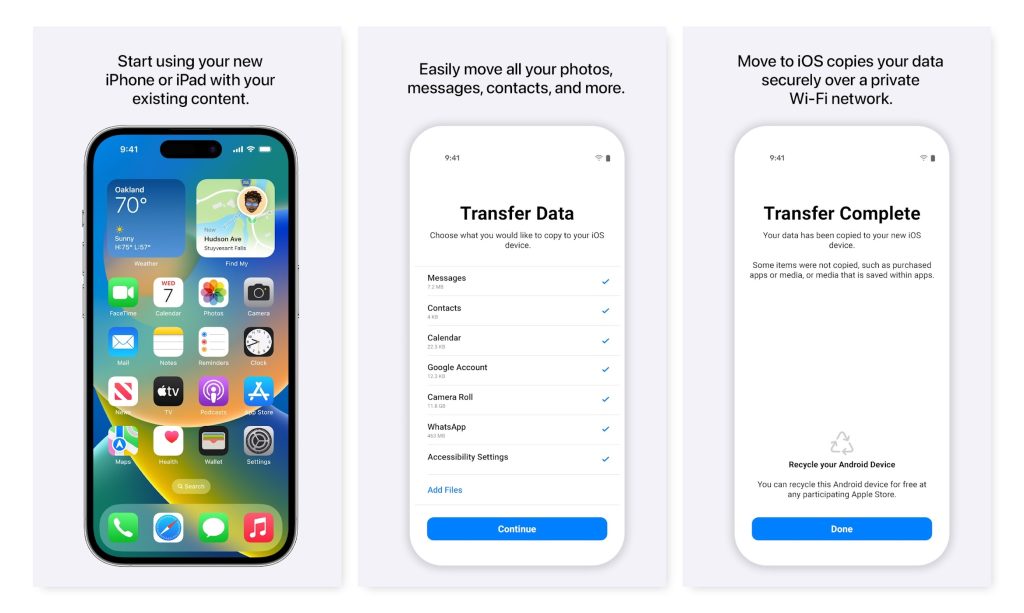
If you’re switching from an Android device to an iPhone, Apple’s “Move to iOS” app simplifies the process:
- Set up your new iPhone until you reach the “Apps & Data” screen.
- Choose “Move Data from Android.”
- Download the “Move to iOS” app on your Android device from the Google Play Store.
- Follow the instructions in the app to transfer data wirelessly.
Manually Transfer Certain Data
Some data might not be transferred automatically, such as non-iTunes-purchased music or files. You can manually sync your new iPhone with your computer to transfer these items.
Update Apps and Settings
After transferring data, make sure to update your apps from the App Store to ensure you have the latest versions. Additionally, review and adjust your settings to personalize your new iPhone experience.
Delete Old iPhone Data
Once you’re confident that your data has been successfully transferred to your new iPhone, you can erase your old iPhone to ensure your data’s security. Go to Settings > General > Reset > Erase All Content and Settings.
In Summary
Transferring data from your old iPhone to your new one doesn’t have to be a daunting task. With the methods and steps outlined in this comprehensive guide, you can seamlessly migrate your contacts, photos, apps, and other vital data. Whether using iCloud, iTunes/Finder, the Quick Start feature, or the “Move to iOS” app, Apple provides user-friendly solutions to ensure a smooth transition. Just remember to back up your old iPhone first to safeguard your data, and take the time to update apps and settings on your new device for a personalized experience.

